How to take certified screenshots using Safe Stamper

Introducing a new certification tool that completes Safe Stamper’s kit: The certified screenshots.
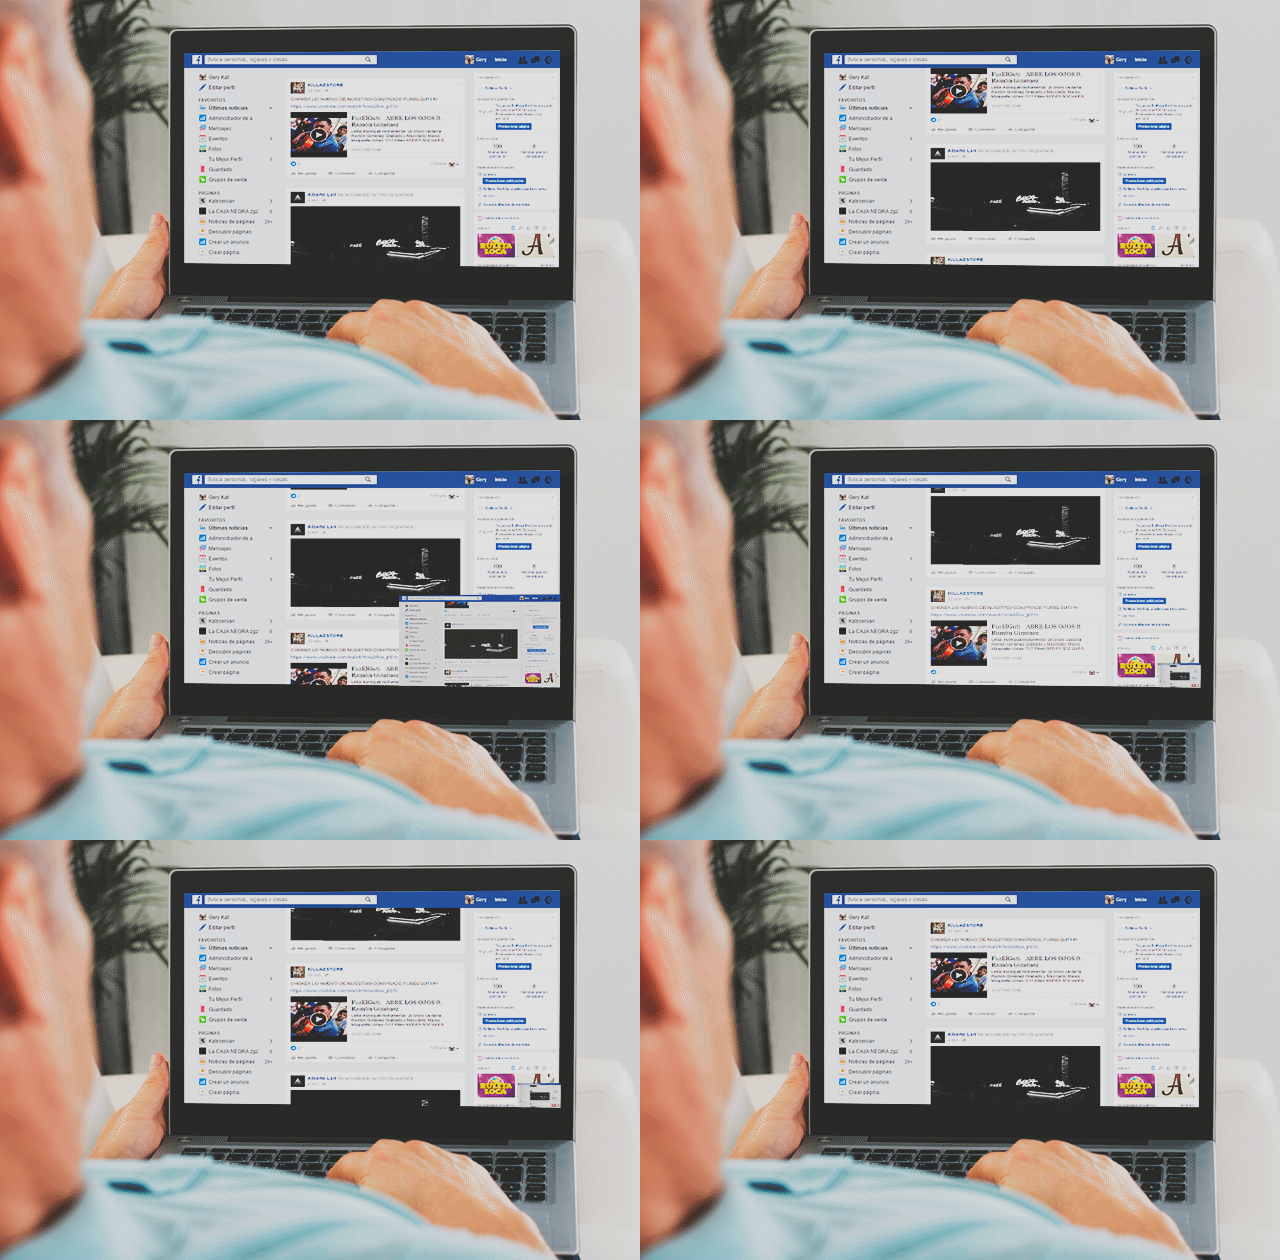
You may use it in cases of plagiarism, cyber-bullying, or any other sorts of illicit or illegal activities taking place online, on pages with restricted content, only visible for logged in users. That is, this new tool goes where our static page certification tool couldn’t. For further information, there is a list of all the services later in this post.
Read more: Can I use a screenshot as evidence at a trial?
This is how the certified screen captures work:
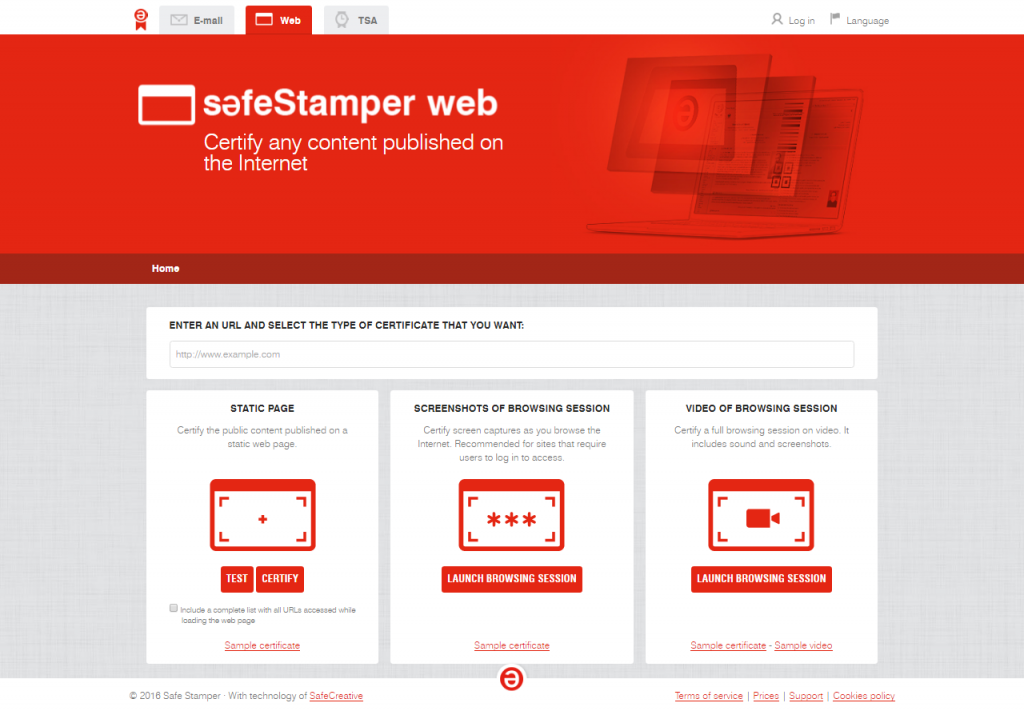
- Enter Safe Stamper from your user account and select the “Web” tab.
- Enter the URL from which you want to start browsing, and click on the “Launch Browsing Session” button, inside the “Screenshots of Browsing Session” tool section.
- A new session will be launched from one of our servers, in order to guarantee the authenticity of your screenshots.
- In order to take a certified screen chapture, click on the camera button on the upper right corner of the browser.
The final .pdf certificate will feature all the captures you take, the URLs you visited, and other relevant information that you may need in case of using it as evidence at a trial.
Safe Stamper: the complete kit
It’s been a very active year, and lots of things have changed on our site. So, here’s a summary of the 5 different certification and timestamping tools you can find at Safe Stamper and some recommended uses for each one:

1. Certified emails.
At safestamper.com > Mail.
To certify the sending of emails. It works by sending the email normally, but adding certify@safestamper.com as CC or BCC.
It generates a .pdf certificate that contains the exact date and hour when the email was sent, who were the sender and recipients, and the email’s content.

2. Certified content from public pages.
At safestamper.com > Web > Static Page.
To certify all the content published on a public site. It works by copying and pasting the specific URL of the page you wish to certify on Safe Stamper.
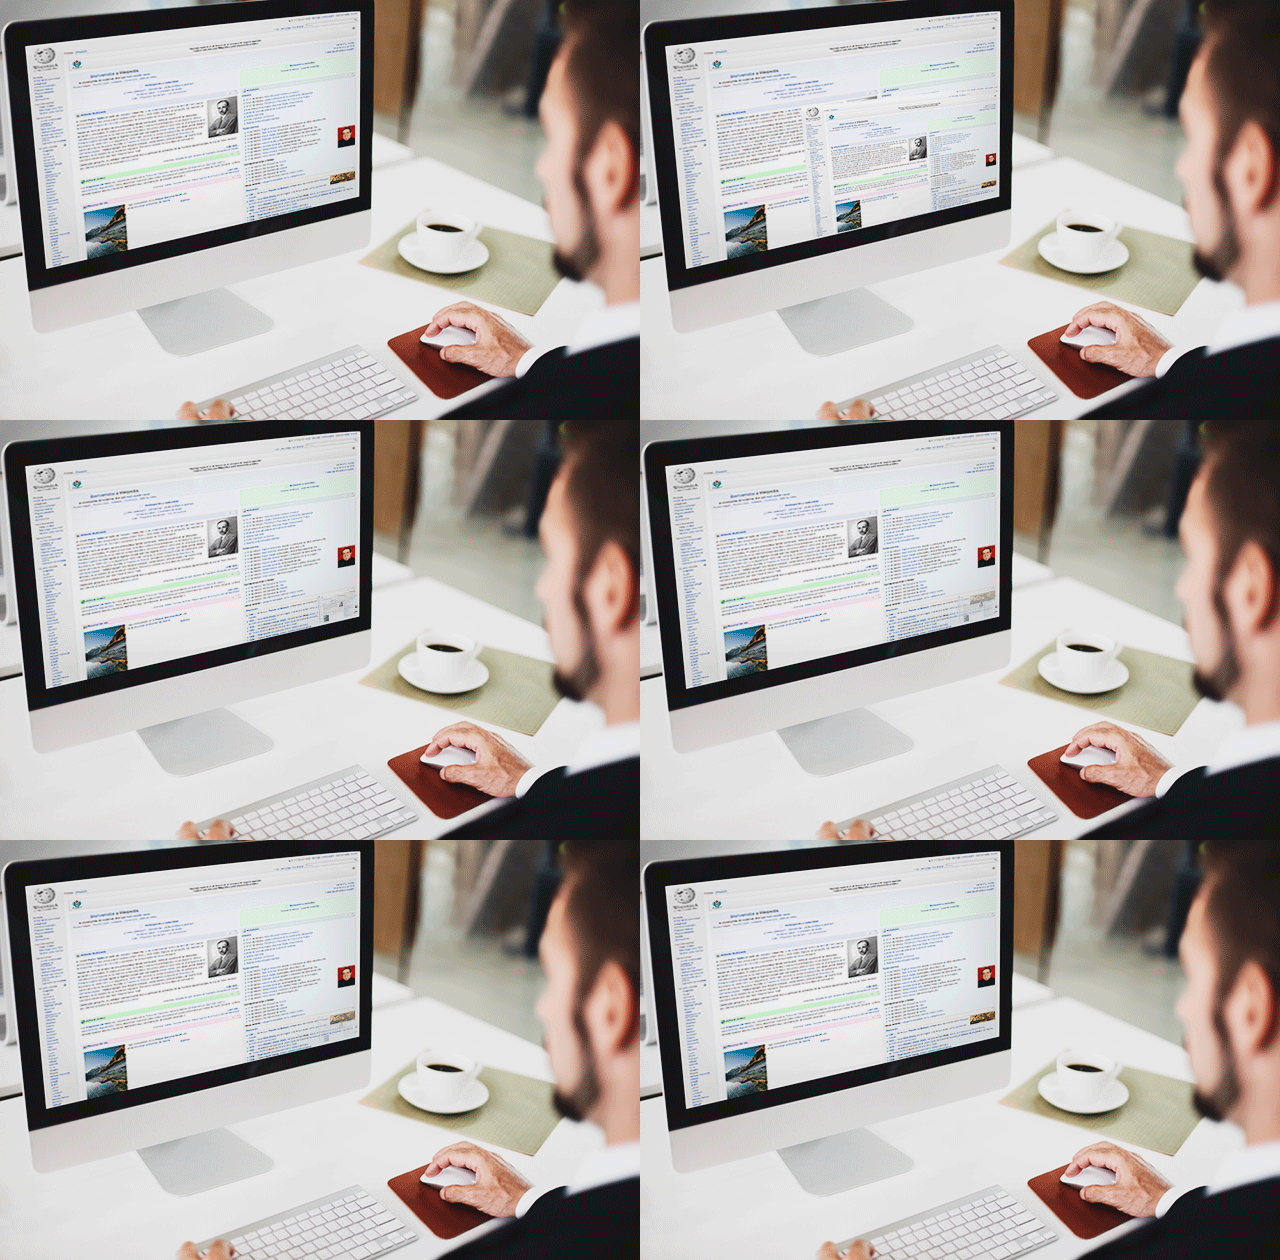
It generates a .pdf certificate, therefore all the content must be still. For example, a Wikipedia page.

3. Certified screen captures.
At safestamper.com > Web > Screenshots of Browsing Session.
To certify pages with restricted content, which can’t be accessed by simply copying and pasting the URL.
As it’s already been explained, it works by launching a remote browsing session from Safe Stamper and taking the screenshots from that session.

4. Certified browsing session.
At safestamper.com > Web > Video of Browsing Session.
To certify multimedia content in all sorts of pages, such as video, music, ads or animations.
The way it works is almost identical to the screenshots, by launching a remote browsing session. The difference is, this time a video (with sound) of the full session is recorded. The tool also includes an option to take screenshots during the session.
It generates a certified video and a .pdf certificate featuring any screenshots taken, as well as relevant information about the session (visited URLs, exact date and hour, duration…).
View a sample certificate. View a sample video.
5. TSA (Time Stamping Authority).
At safestamper.com > TSA.
Our own time stamping authority, open for developers who may need one for their own projects.
